The Thistle Becomes a Card – Making a Layered Folding Card by Hand
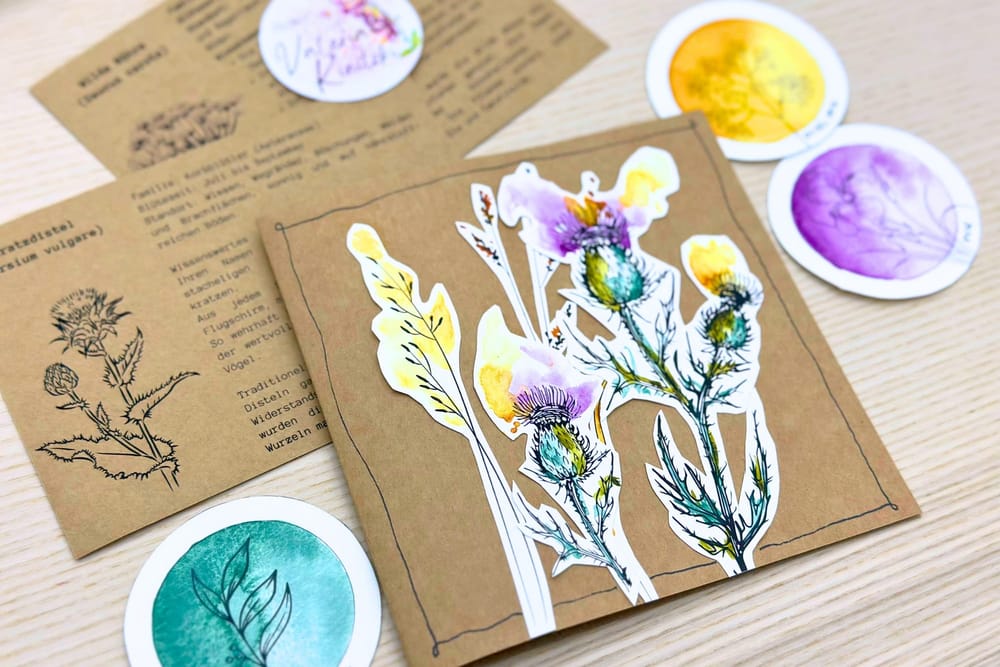
Some motifs I don't just want to paint, but to give away. The spear thistle is one of them. In this post I show how it becomes a small, layered folding card that gains a lovely sense of depth by gluing several layers on top of one another.
Why the thistle of all things
The spear thistle is the most personal of my friendly wild ones. Defensive and beautiful at once, with its spiny leaves and soft, purple crown. For a long time it was seen as a mere weed, and yet it's a true wonder for wildlife. Someone once praised me for not being afraid to simply let it stand in my garden. And in autumn the goldfinches came and picked at its seeds, birds I would probably never have seen otherwise. It's exactly this little story that makes it the perfect motif for a card to pass on. You can read more about the whole series in my post about the friendly wild ones.
What makes the card layered
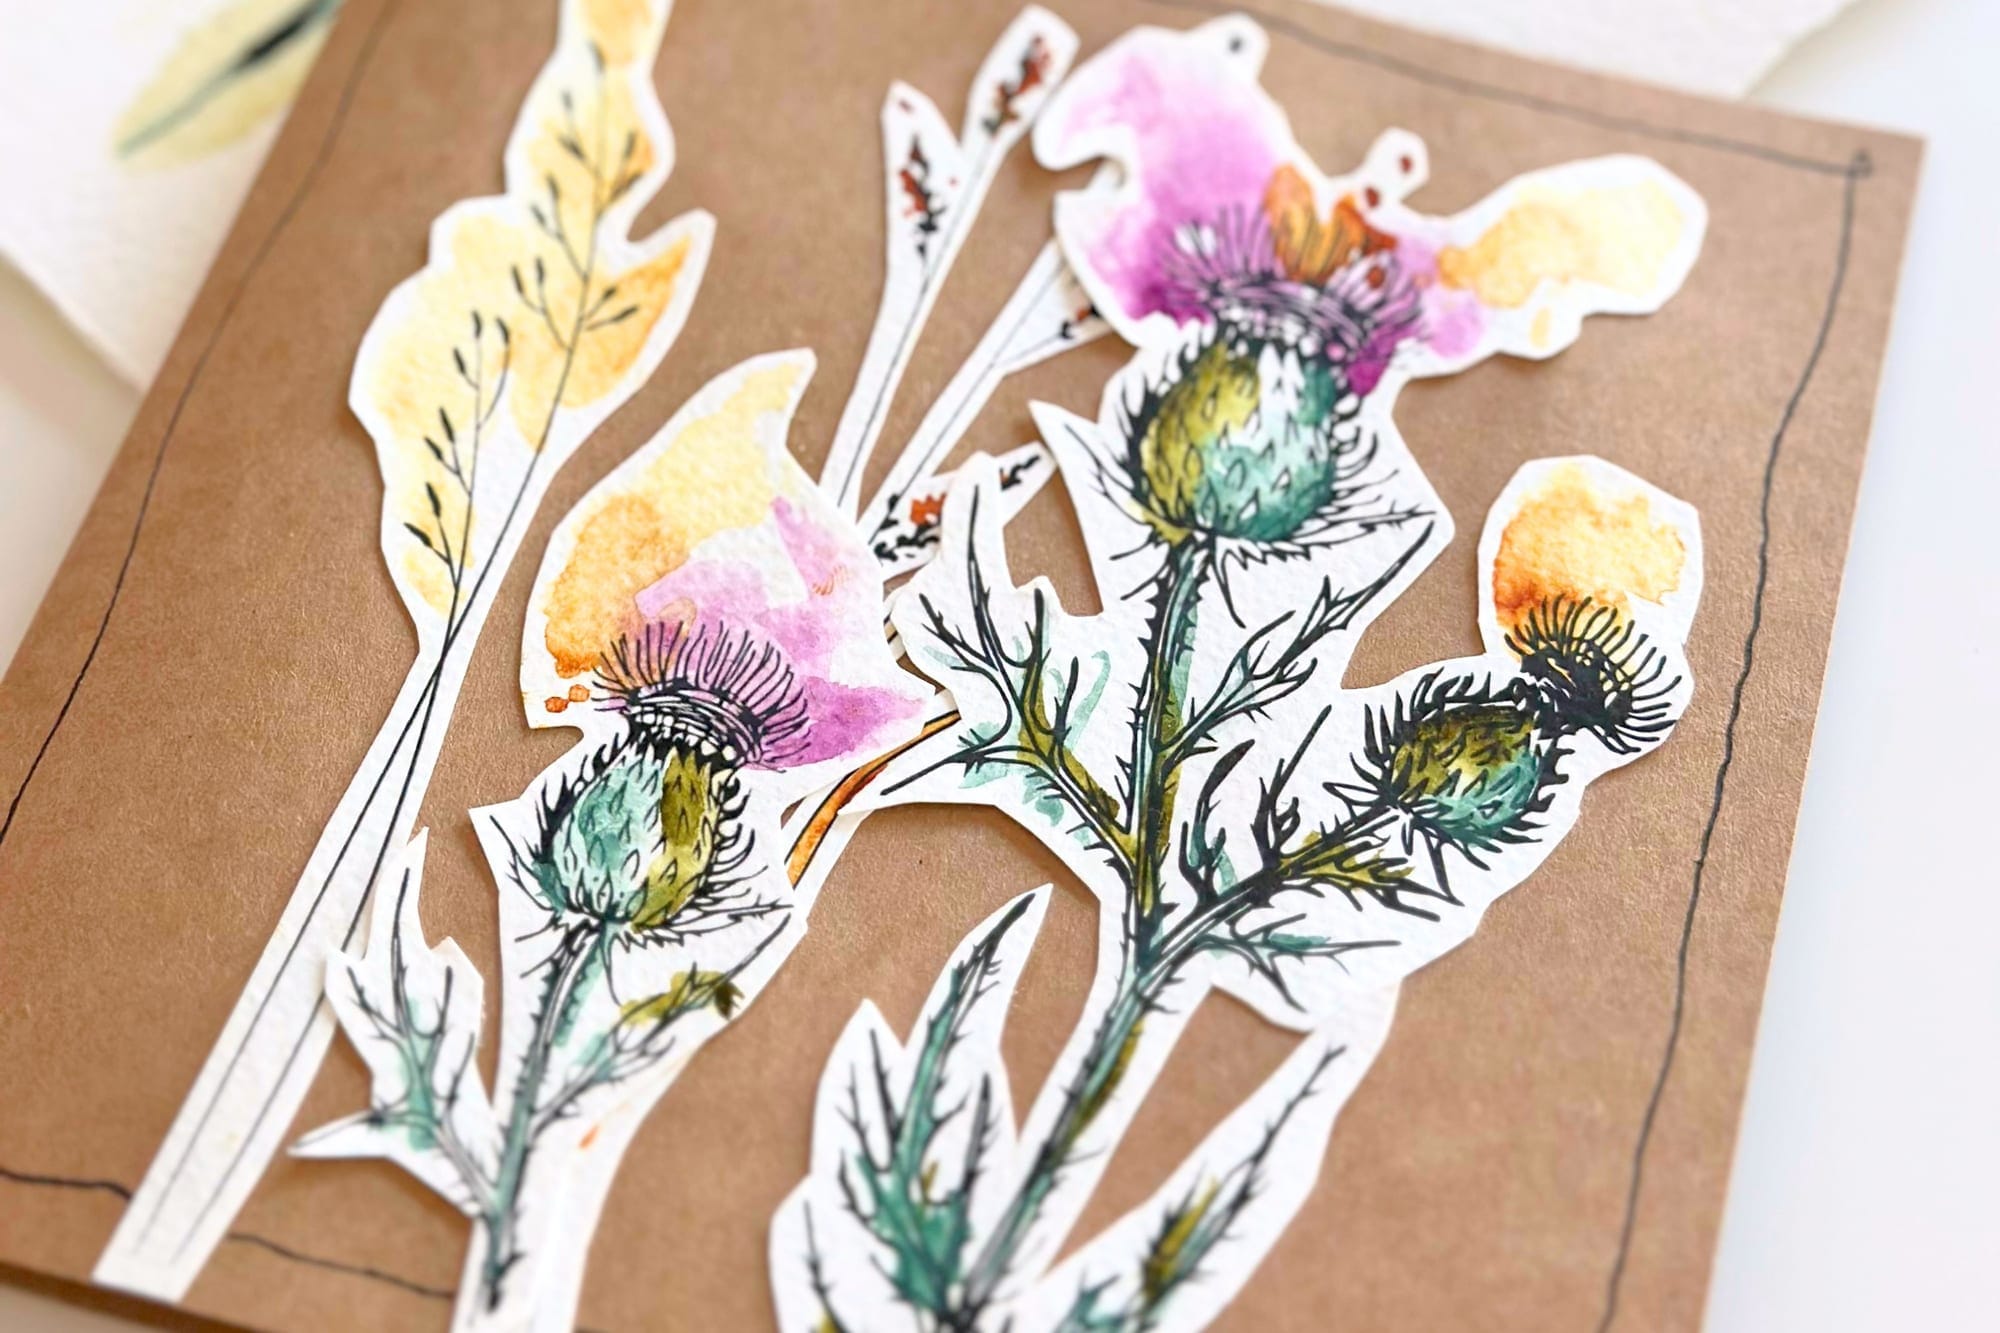
As always, the August package holds two main motifs on cotton paper, one of them the thistle, and on the reference print I show it fully painted. For this card, though, it's about the smaller thistles on the creative design sheet. They are colored, cut out, and then glued on top of one another in several layers. That way nothing lies flat on the paper; instead the individual sprigs lift up slightly and cast small shadows. It gives the card depth, almost as if the thistle were growing out of the surface.
Step by step
This is how the card comes together:
1. Coloring. First I color the small outlines of the different thistles on the design sheet. For the leaves I mix a natural green, for the blooms a deep purple. Then I let everything dry well, so nothing smudges while cutting.And anyone who would rather color the thistles step by step together with me will find the matching painting session in the Atelier.
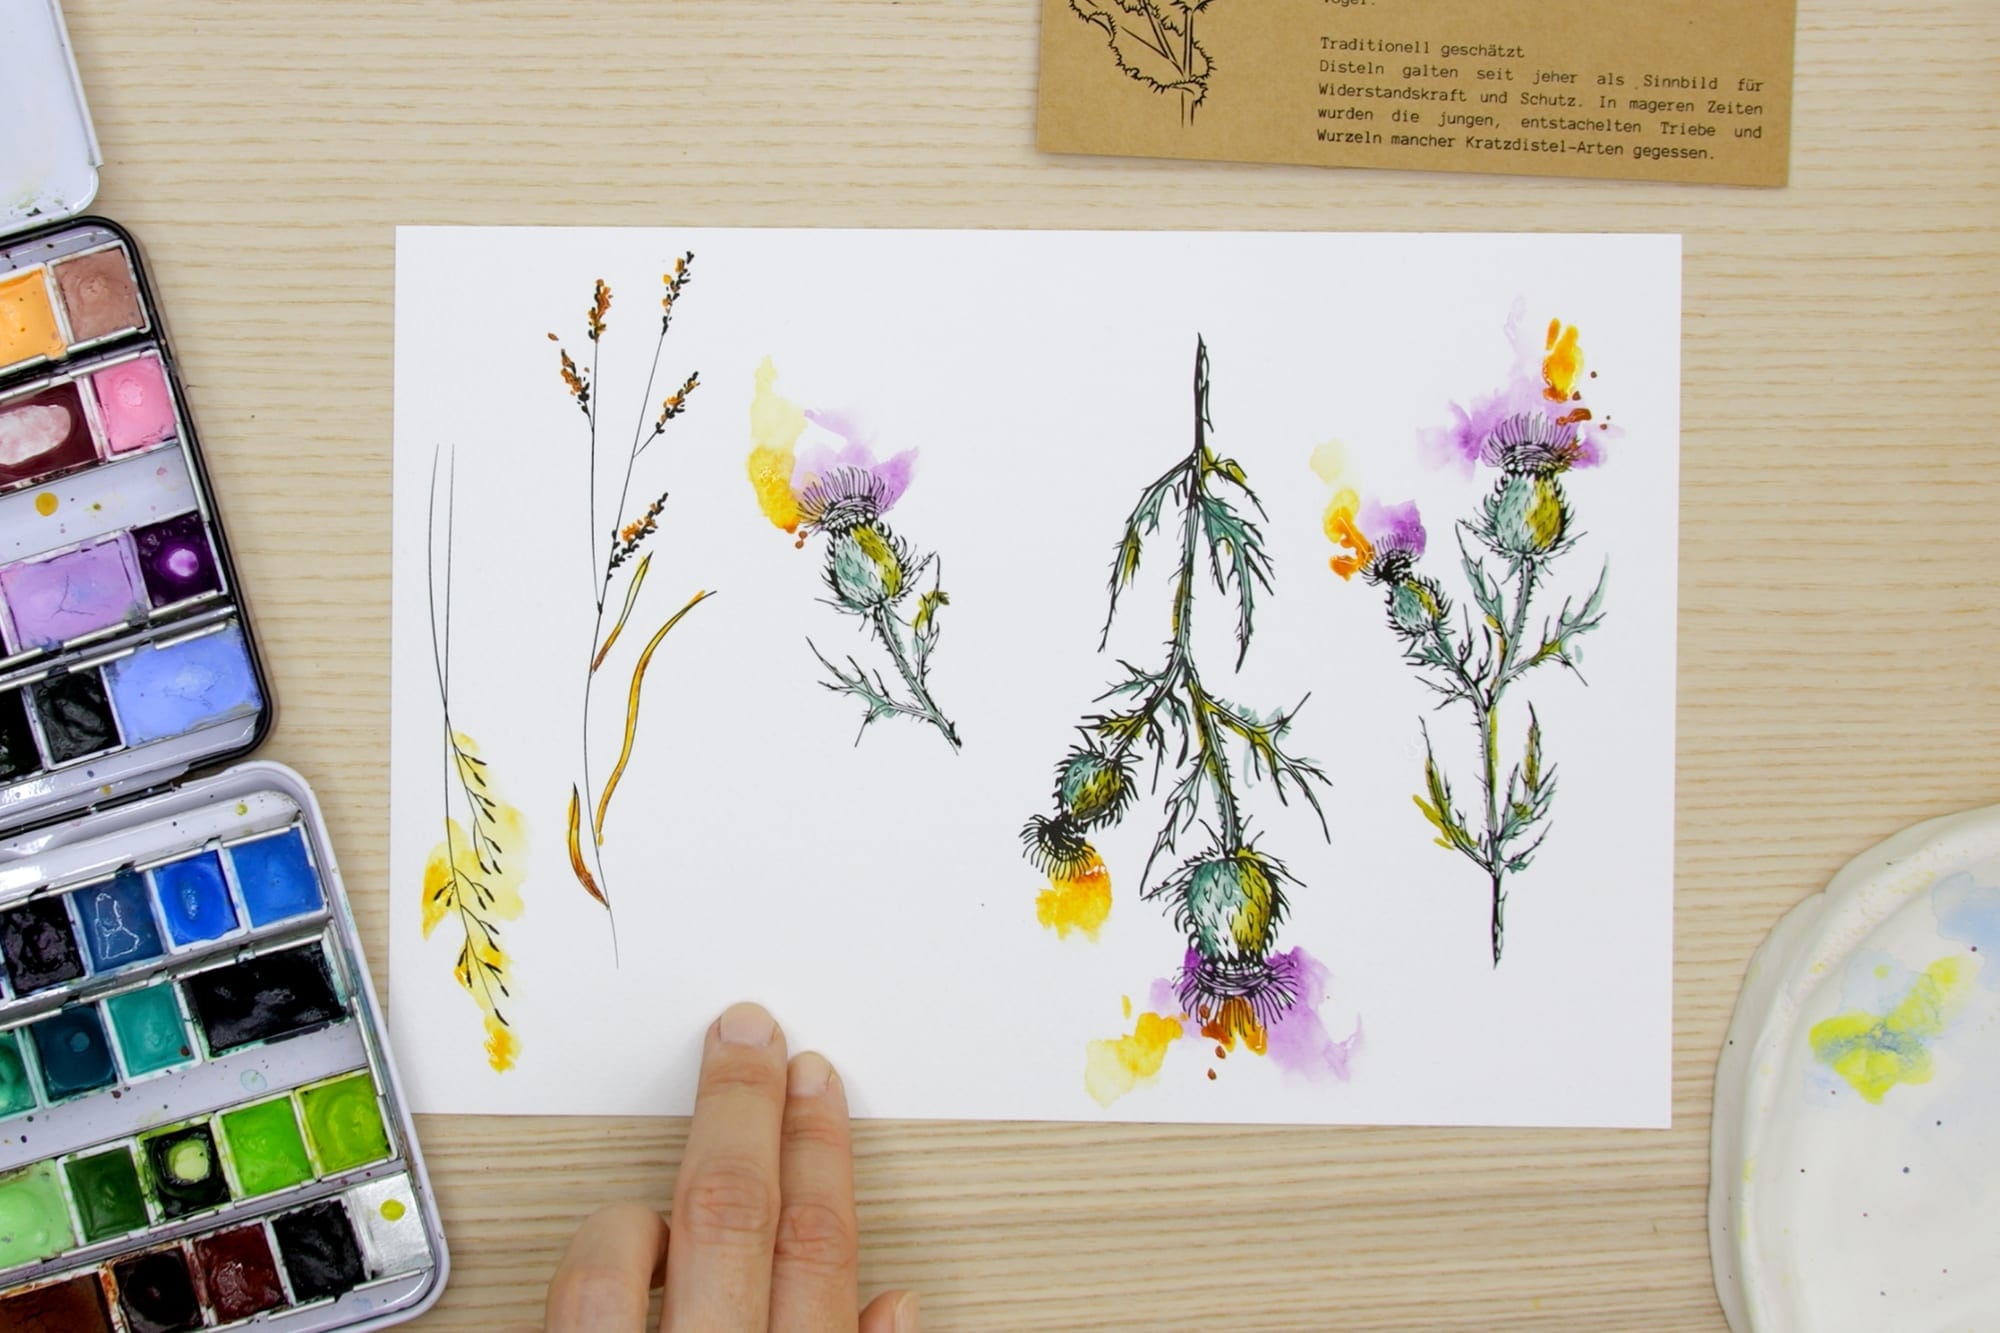
2. Cutting out. Now I cut out the motifs, leaving a narrow border of one to two millimeters all around. This fine white edge frames the thistle and lets it sit cleanly on the card later.
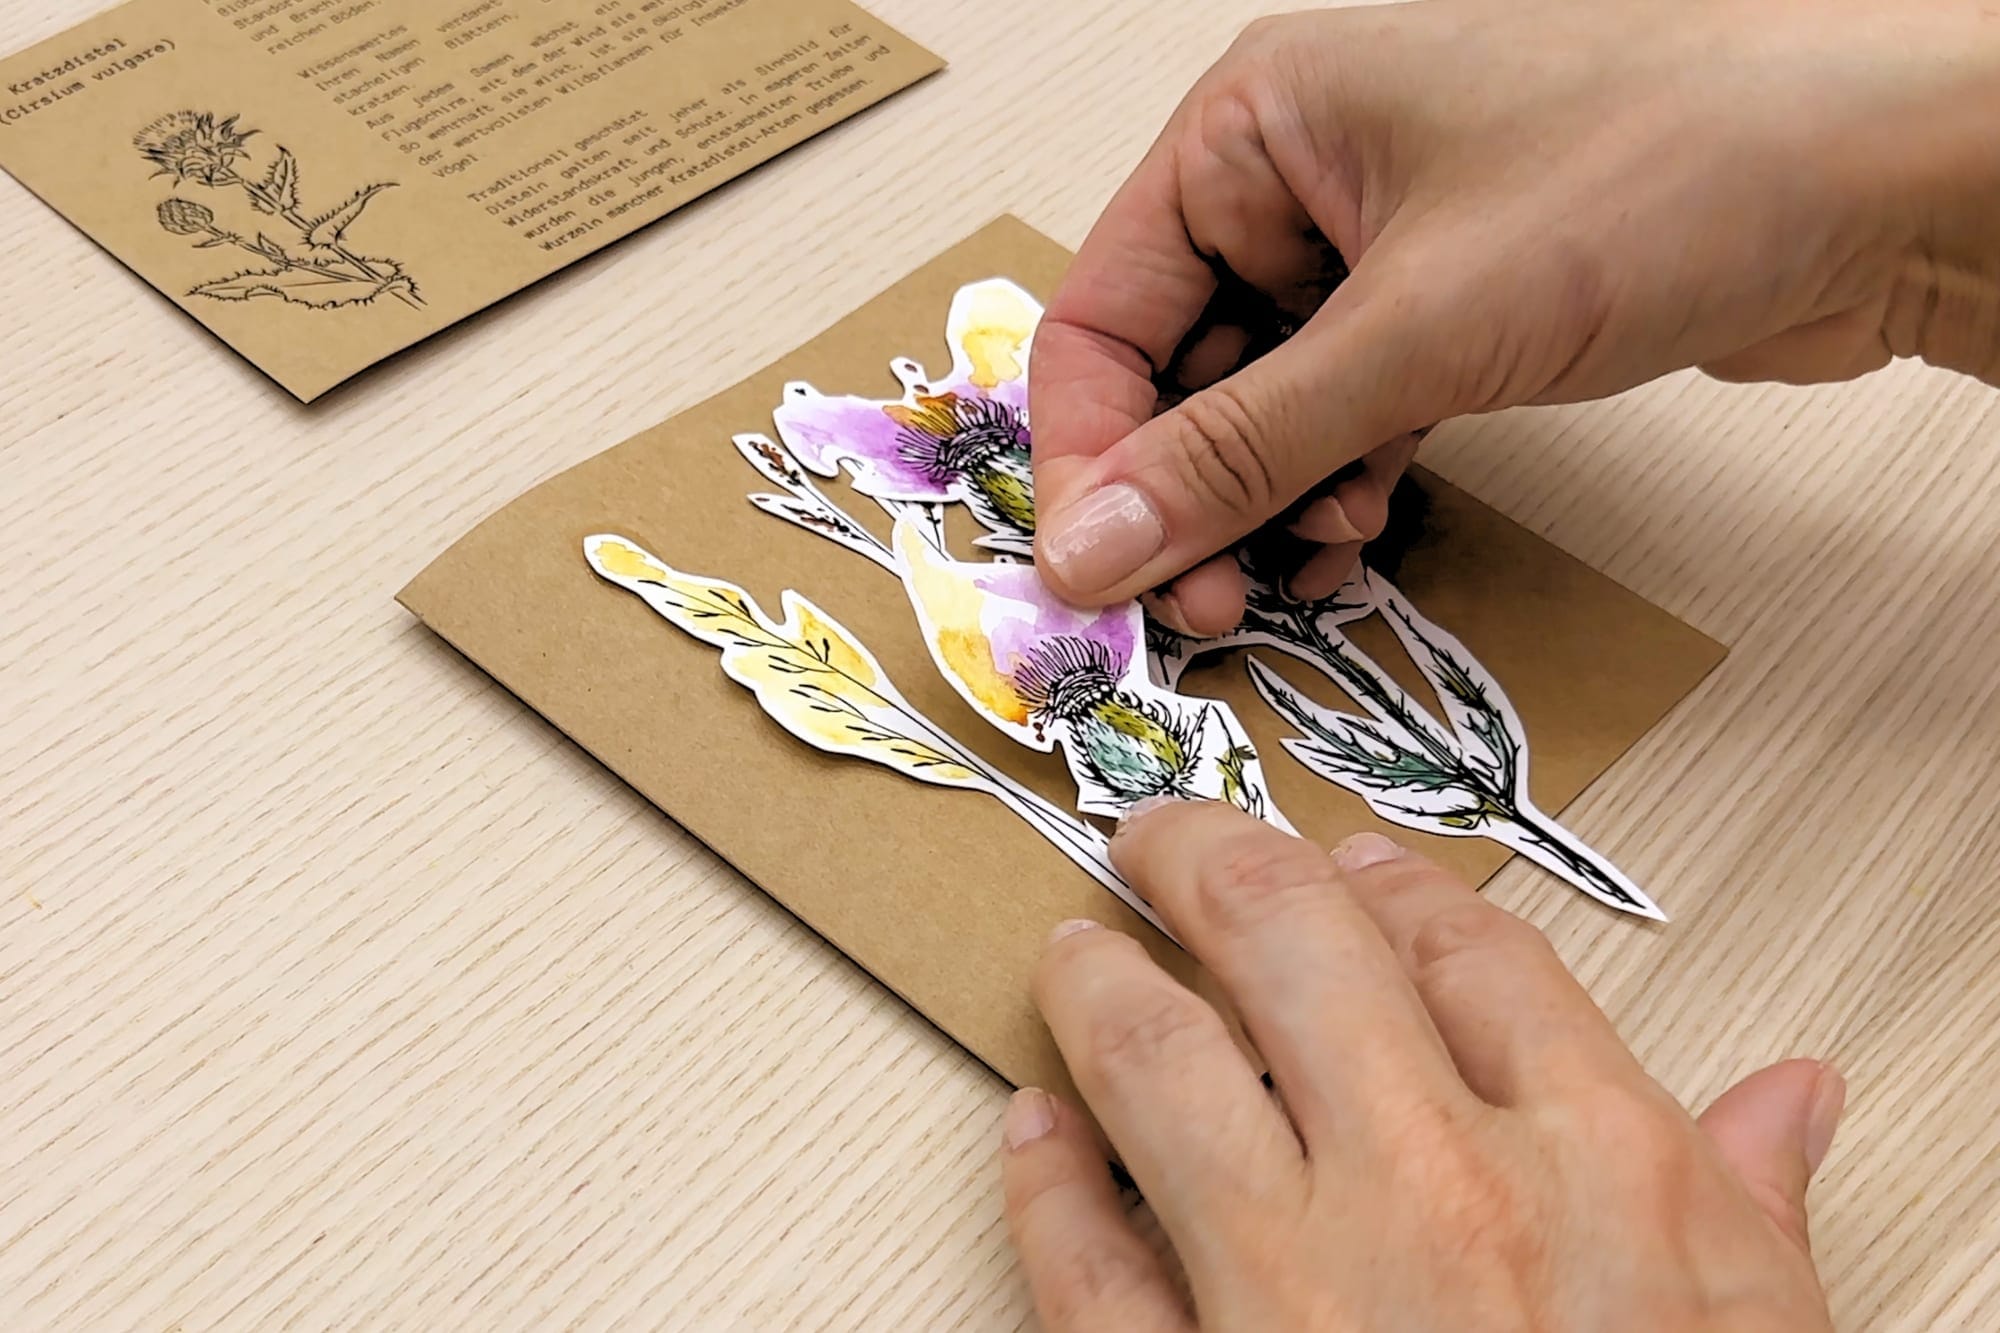
3. Arranging. Before I glue, I first lay the thistle sprigs loosely on the front of the folding card and try out how they play together best. It's worth taking your time here to shift and turn them.
4. Gluing in layers. Finally I glue the pieces on top of one another, layer by layer, onto the front. The back sprigs first, the front ones over them. It's precisely this stacking that creates the layered effect.
A small gift that lasts
In the end you don't hold a bought card in your hand, but a small one-of-a-kind. I love the thought that the thistle, which no one wanted for so long, now stands on someone's table as a handmade greeting. That's exactly what these little projects from the package are about for me: turning a motif into something you keep, give away and hold in your hands. Anyone who'd like to paint and make things along will find everything in the Atelier for Creatives.