Watercolor Techniques – The Most Important Basics, Simply Explained
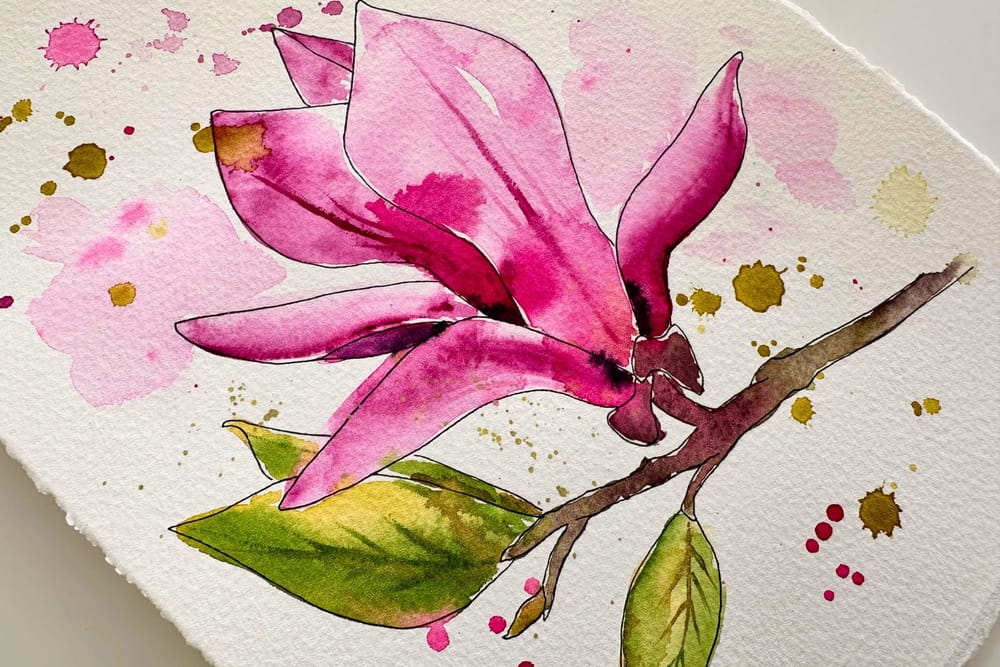
Hardly any painting technique lives on water as much as watercolor. While with acrylic or oil you can correct almost endlessly, in watercolor many effects arise in the very moment when water and pigments meet. That makes the technique unpredictable on the one hand – and so fascinating on the other.
That is exactly why it pays to know the fundamental watercolor techniques. They are not a rigid set of rules, but tools. The better you understand them, the more deliberately you can decide when to use them – and when to let water and pigments go their own way. For my botanical motifs I basically always use the same techniques. Not every flower needs every method, but each technique serves its own particular purpose.
Wet on dry
Probably the best-known technique is wet on dry. Here, paint is applied to dry paper. Since the paper itself holds almost no moisture, the paint largely stays where you placed it with the brush. Edges become sharp, details precise, and fine lines can be painted in a controlled way.
For botanical motifs I use this technique above all for leaf veins, stamens, fine twigs or other details that should stay clearly defined. The first glazes of a blossom, too, are often laid down on dry paper.
Wet in wet
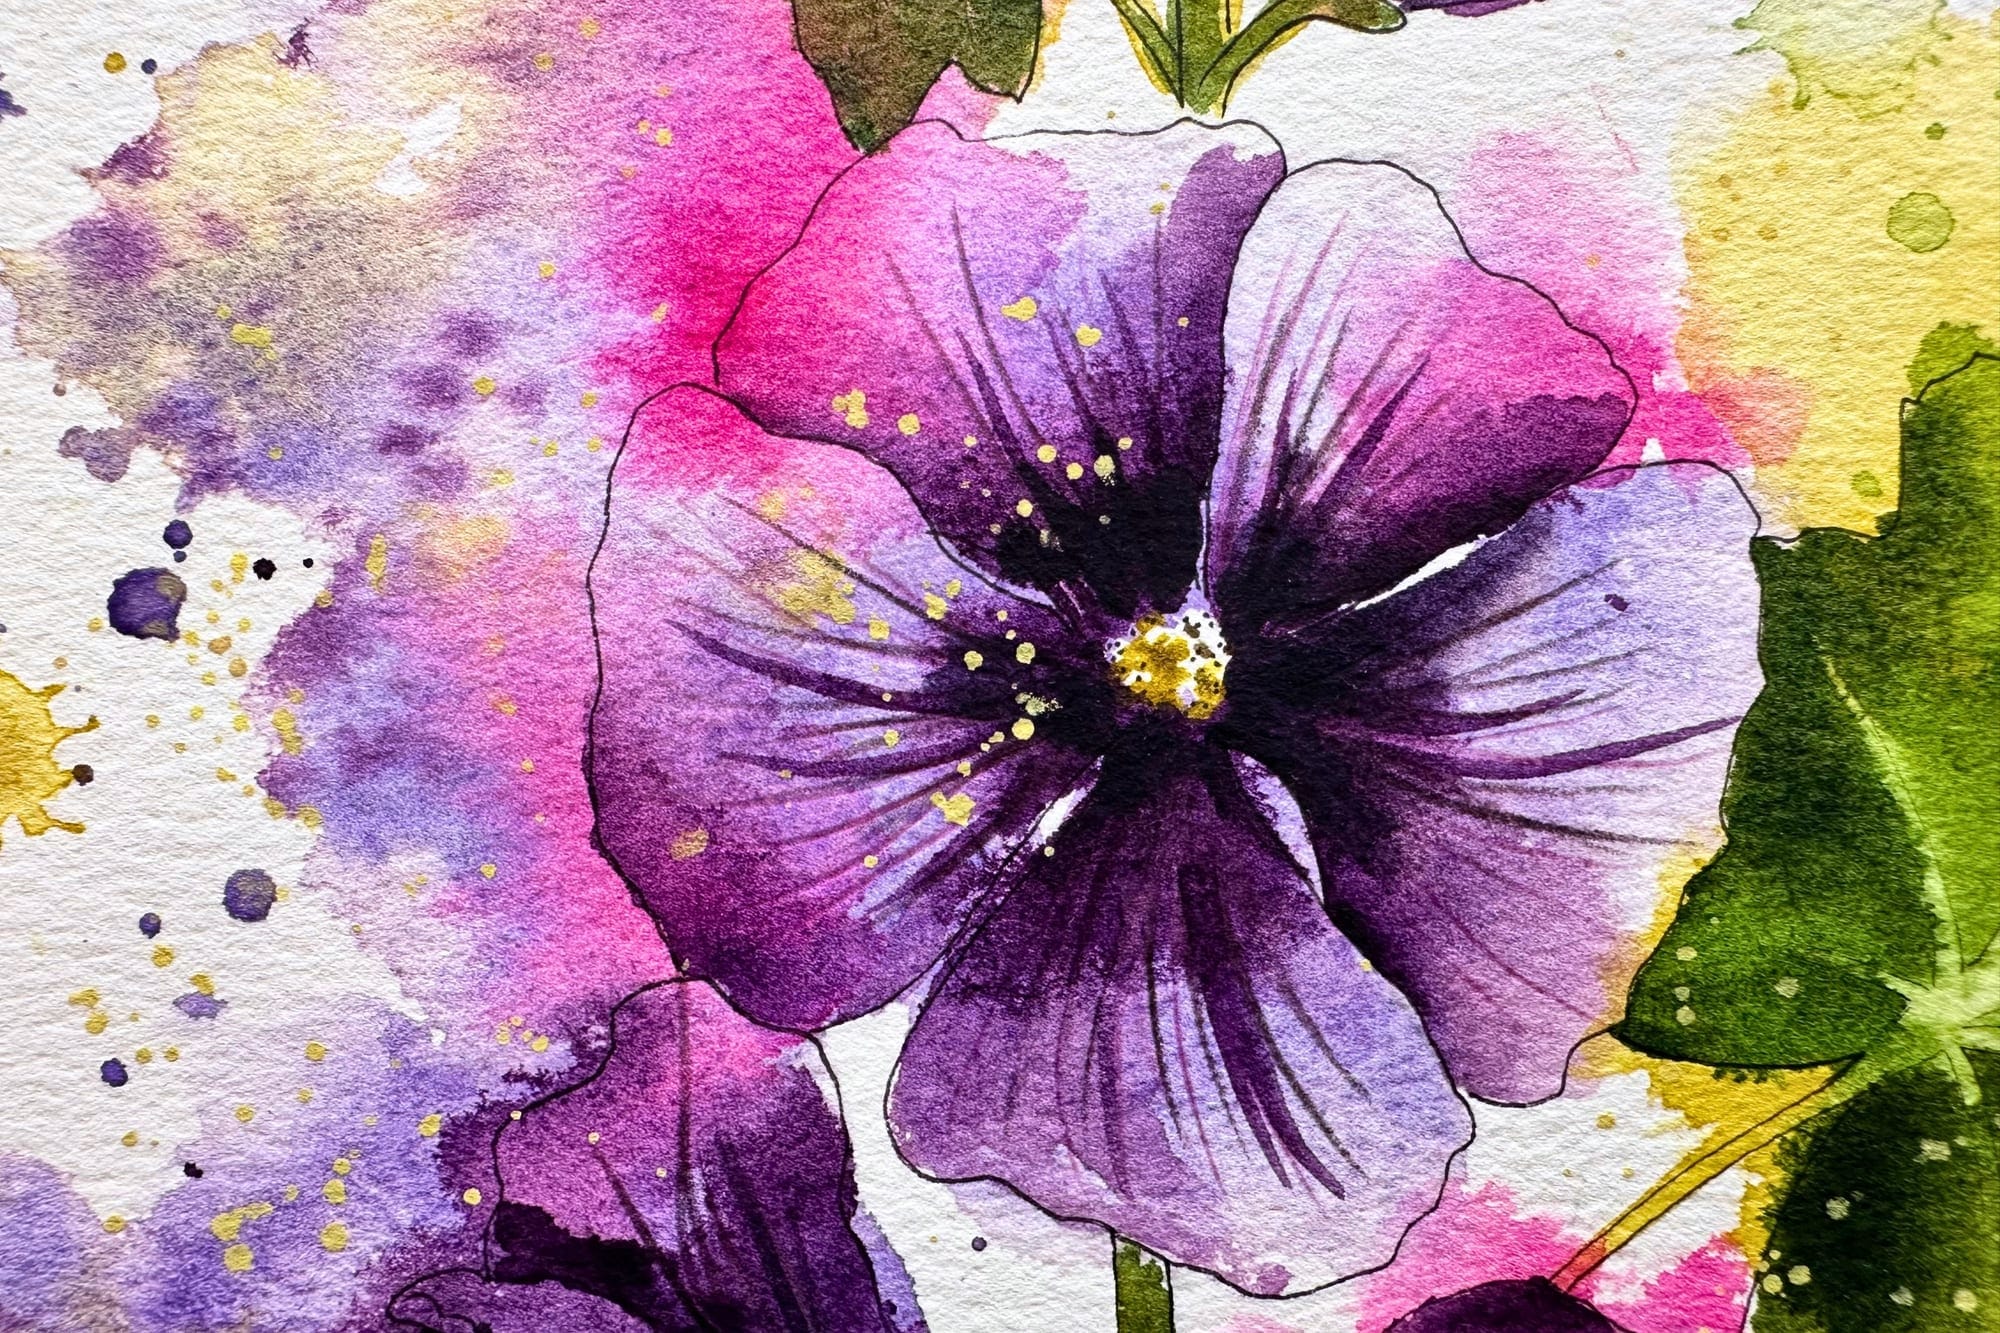
With the wet-in-wet technique, paint is applied to already dampened paper or into a still-wet layer of color. The pigments start to flow immediately and spread on their own. This creates soft transitions and natural gradients that are hard to reproduce with a dry brush.
This technique is wonderful for loose backgrounds, atmospheric washes or gentle transitions within petals. But this is also exactly where it shows how important the right ratio of water to pigment is. Too little water prevents beautiful gradients; too much water easily leads to uncontrolled blooms.
Glazing
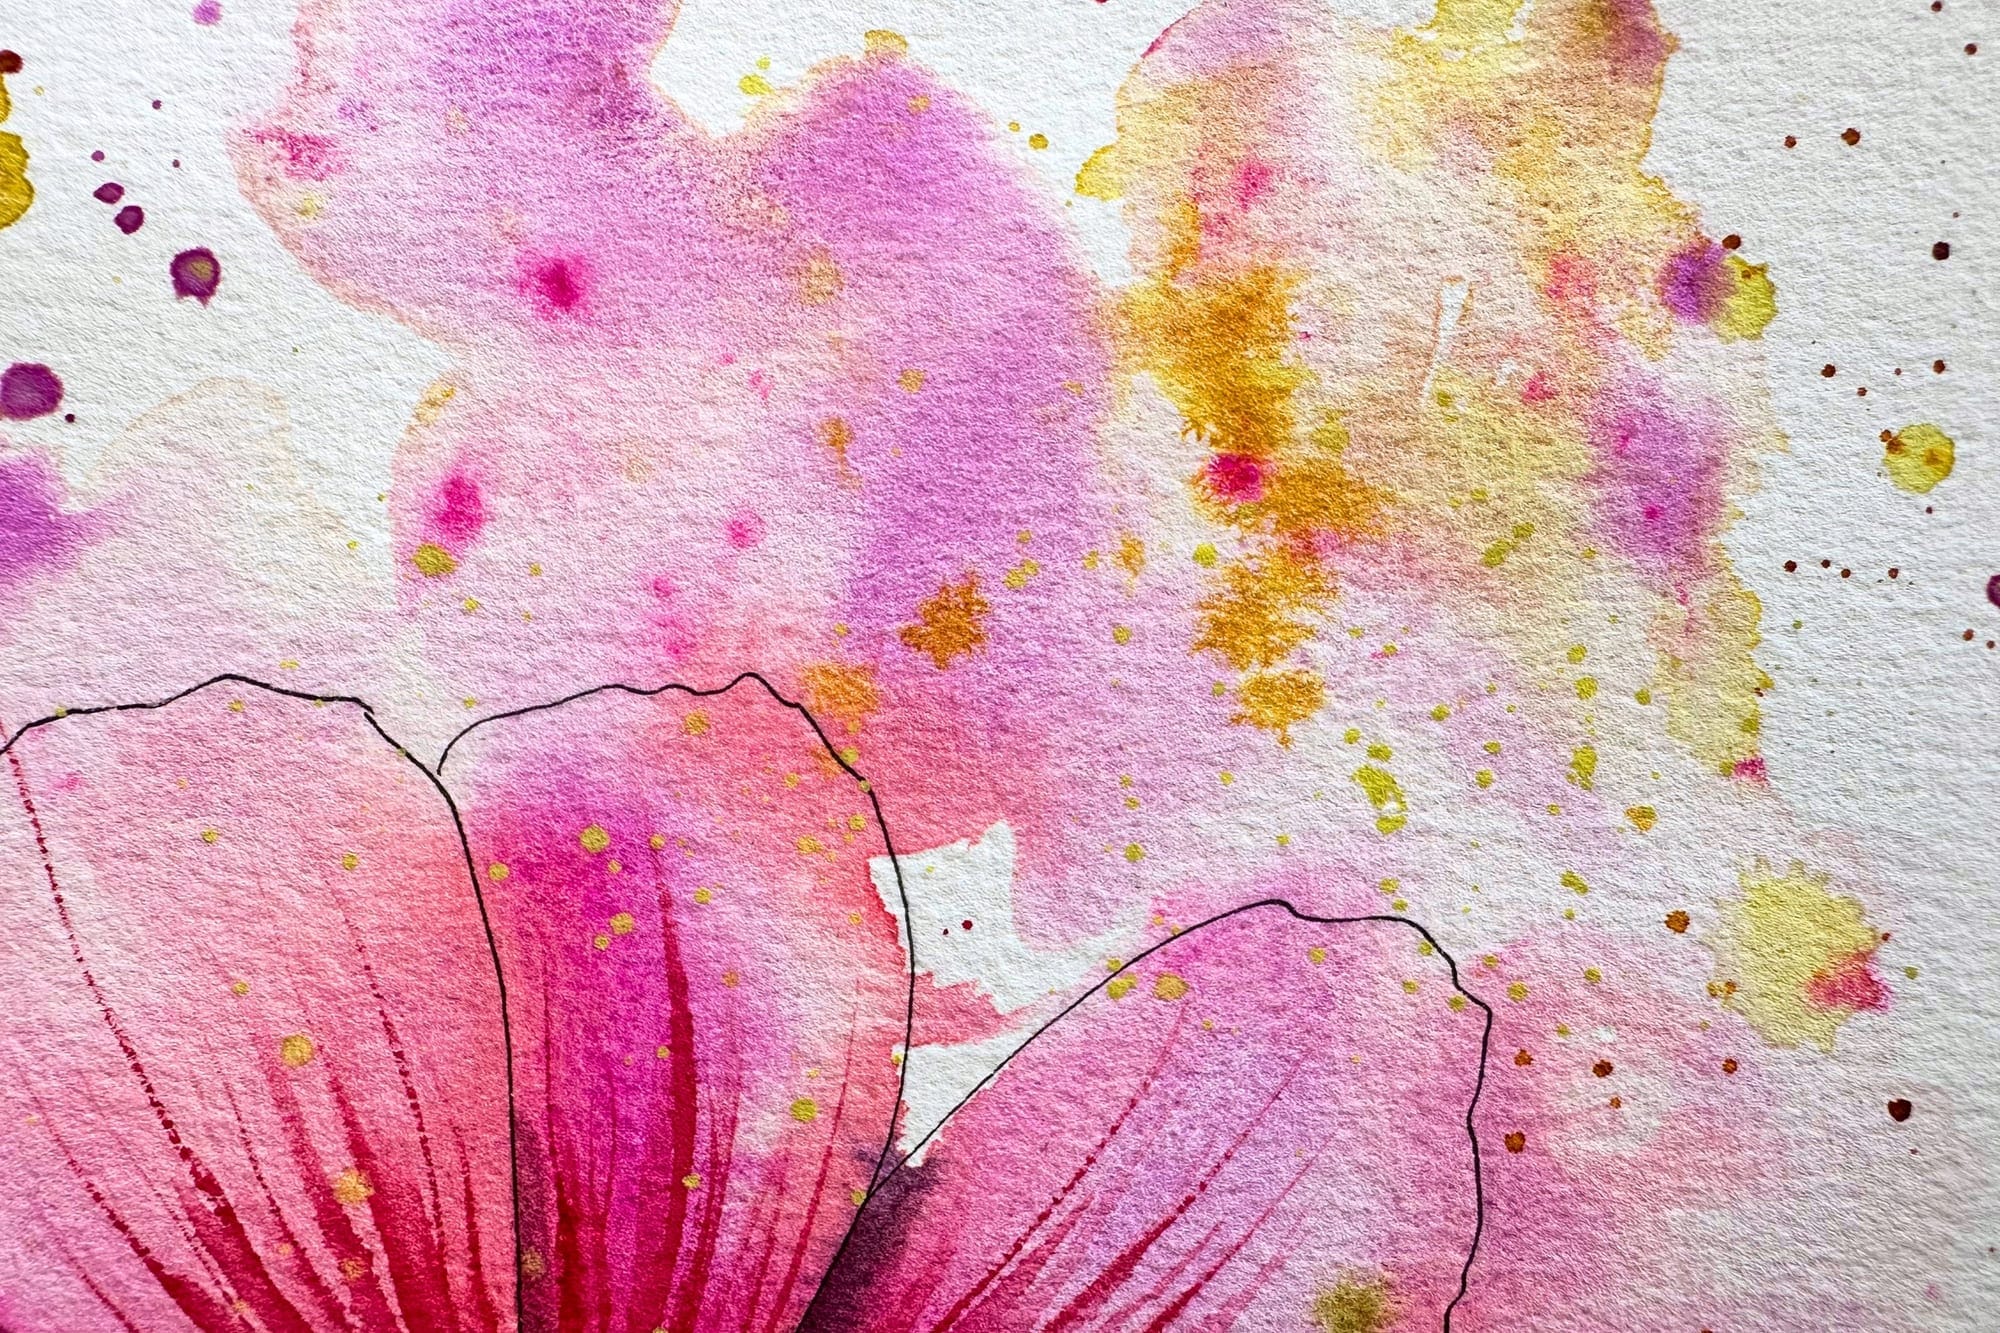
What makes watercolors special is their transparency. It lets you layer several washes on top of one another without the lower ones disappearing completely. This technique is called glazing.
Patience is key here. A new layer should only be applied once the previous one has dried completely. Otherwise the pigments lift again and mix unintentionally. Glazes create depth, richer colors and finely graded shadows. Almost every one of my botanical motifs is built from several transparent layers.
Gradients
A harmonious gradient is one of the loveliest qualities of watercolor painting. A color can transition either into a lighter shade of itself or directly into a second color. I use both variants regularly.
The transition does not come from water alone, but above all from the interplay of water and pigments. When two wet colors meet, they begin to flow into one another and form new in-between tones all by themselves.
One of my favorite gradients, for example, comes from PY129 and PR122. The warm yellow flows gently into the cool pink and creates a luminous, warm rose that works beautifully for many blossoms. Gradients like this often look far more alive than trying to mix the finished shade on the palette beforehand. Petals in particular benefit from this technique, because they rarely consist of just a single color. Small gradients give them depth, naturalness and life.
Negative painting
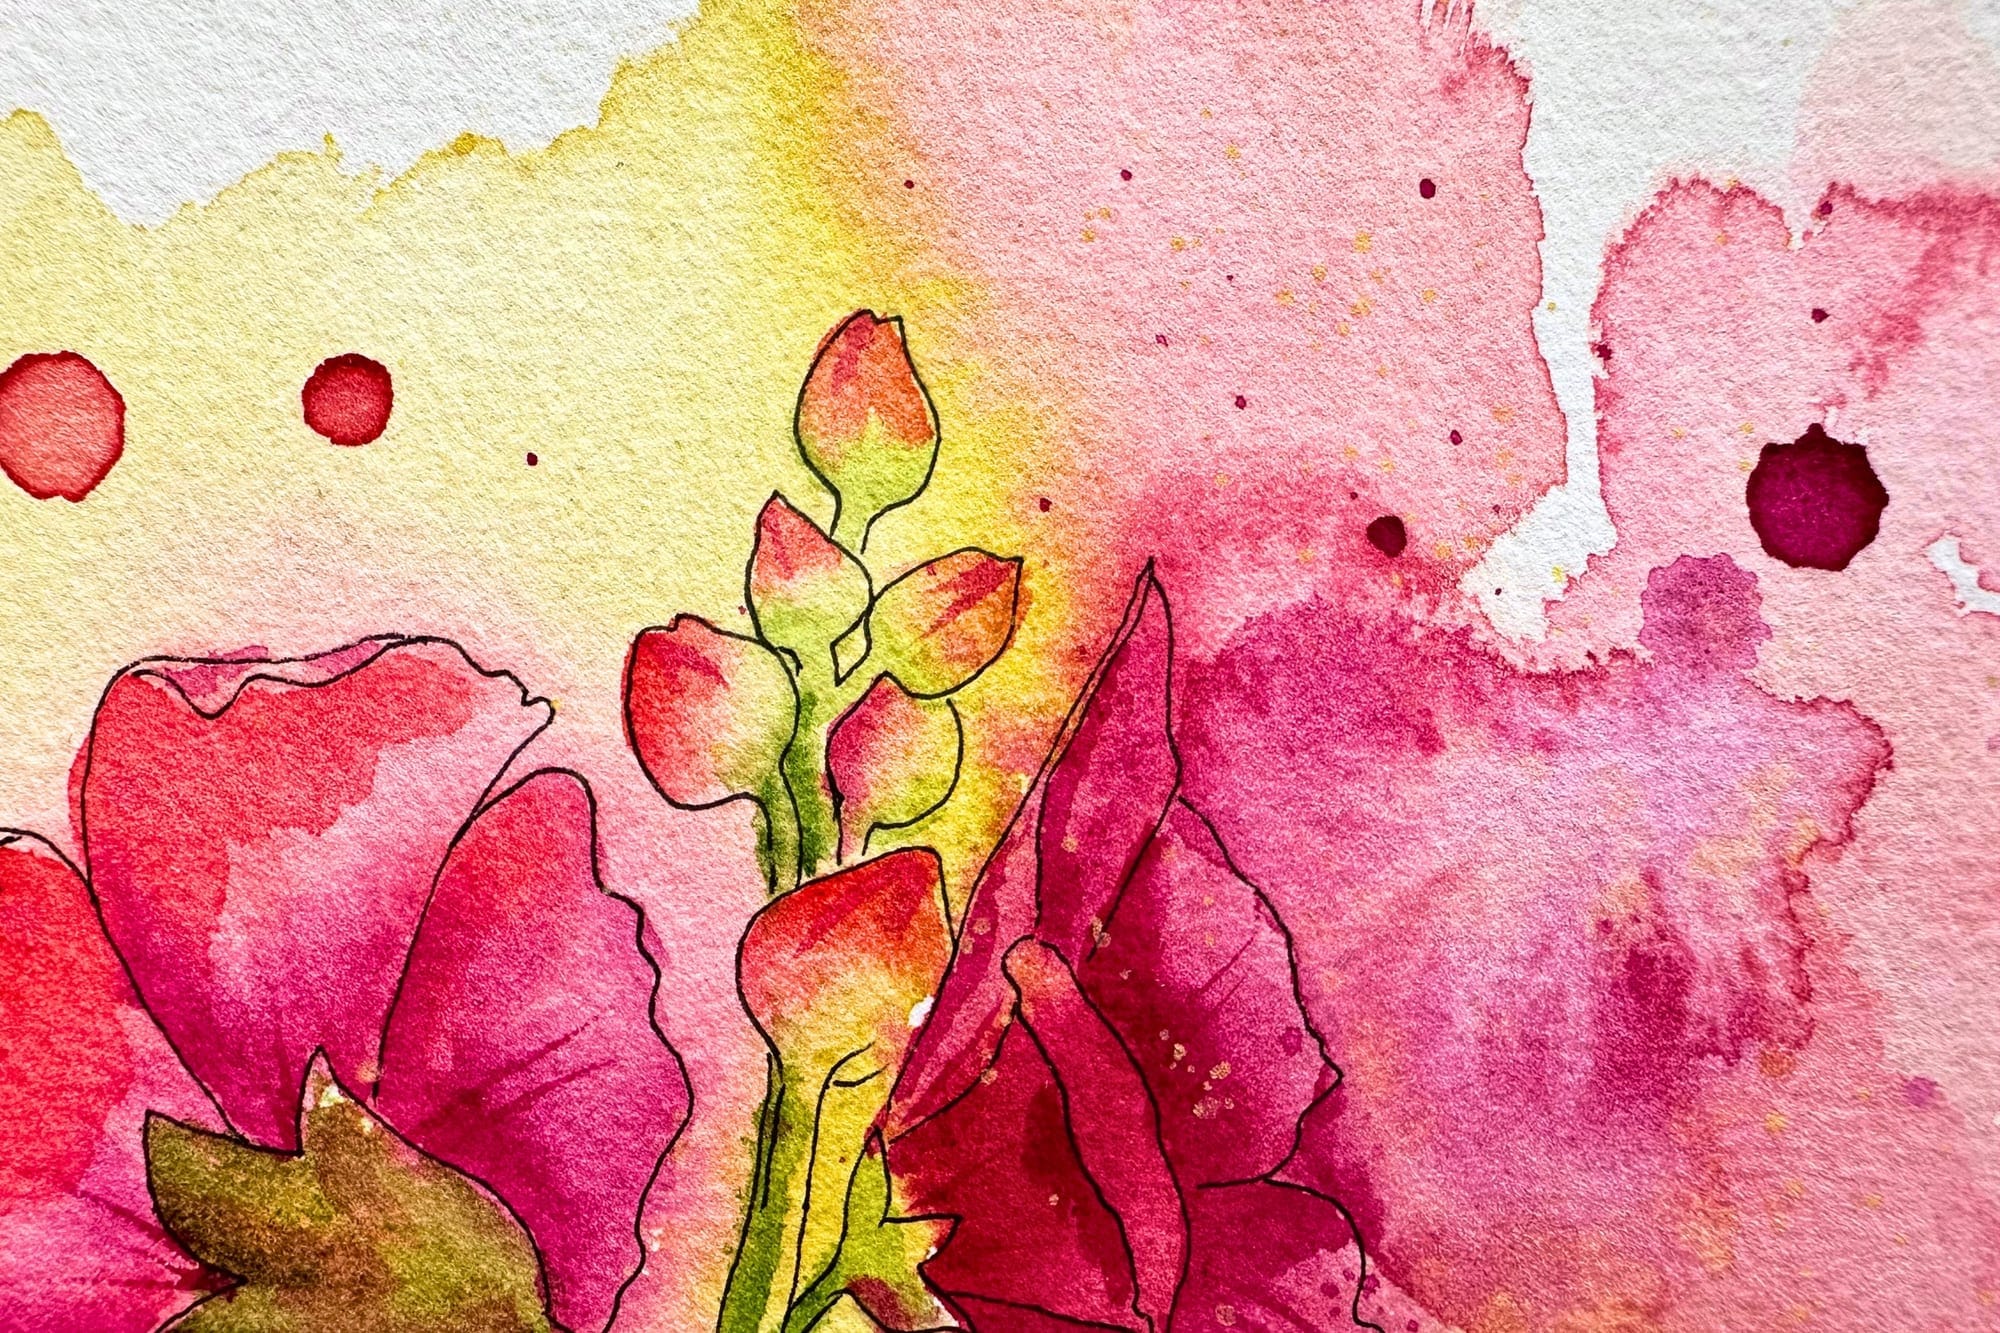
A technique many beginners find unusual at first is negative painting. Here, you do not paint the actual subject, but the area around it. The shape emerges precisely because it is left out.
With leaves, grasses or pale blossoms in particular, this can create a surprising amount of depth. Since watercolor is barely opaque, the white paper often stands in for the lightest areas of the picture.
Dry brush
With the dry brush, there is only a little water in the brush. As a result, the paint is released onto the paper unevenly. On rough papers this creates characteristic textures that can be used for wood, tree bark or stones, for example.
For botanical motifs I use this technique rather rarely, since I mostly prefer soft washes. But for dry seed pods or textured leaves it can be very effective.
Lifting color
Watercolor is often considered an unforgiving technique. I do not see it quite so strictly. As long as the paint is still wet, it can be picked up again with a clean, slightly damp brush or a tissue. Even after drying, many pigments can still be partly re-dissolved.
I use this technique above all to work out fine leaf veins or small highlights. Instead of painting them on opaquely afterward, they emerge directly from the layer of color already there. This looks more natural and preserves the transparency of the watercolor. How well color lifts, however, depends heavily on the paper used and the particular pigments.
Splatters – life, not decoration
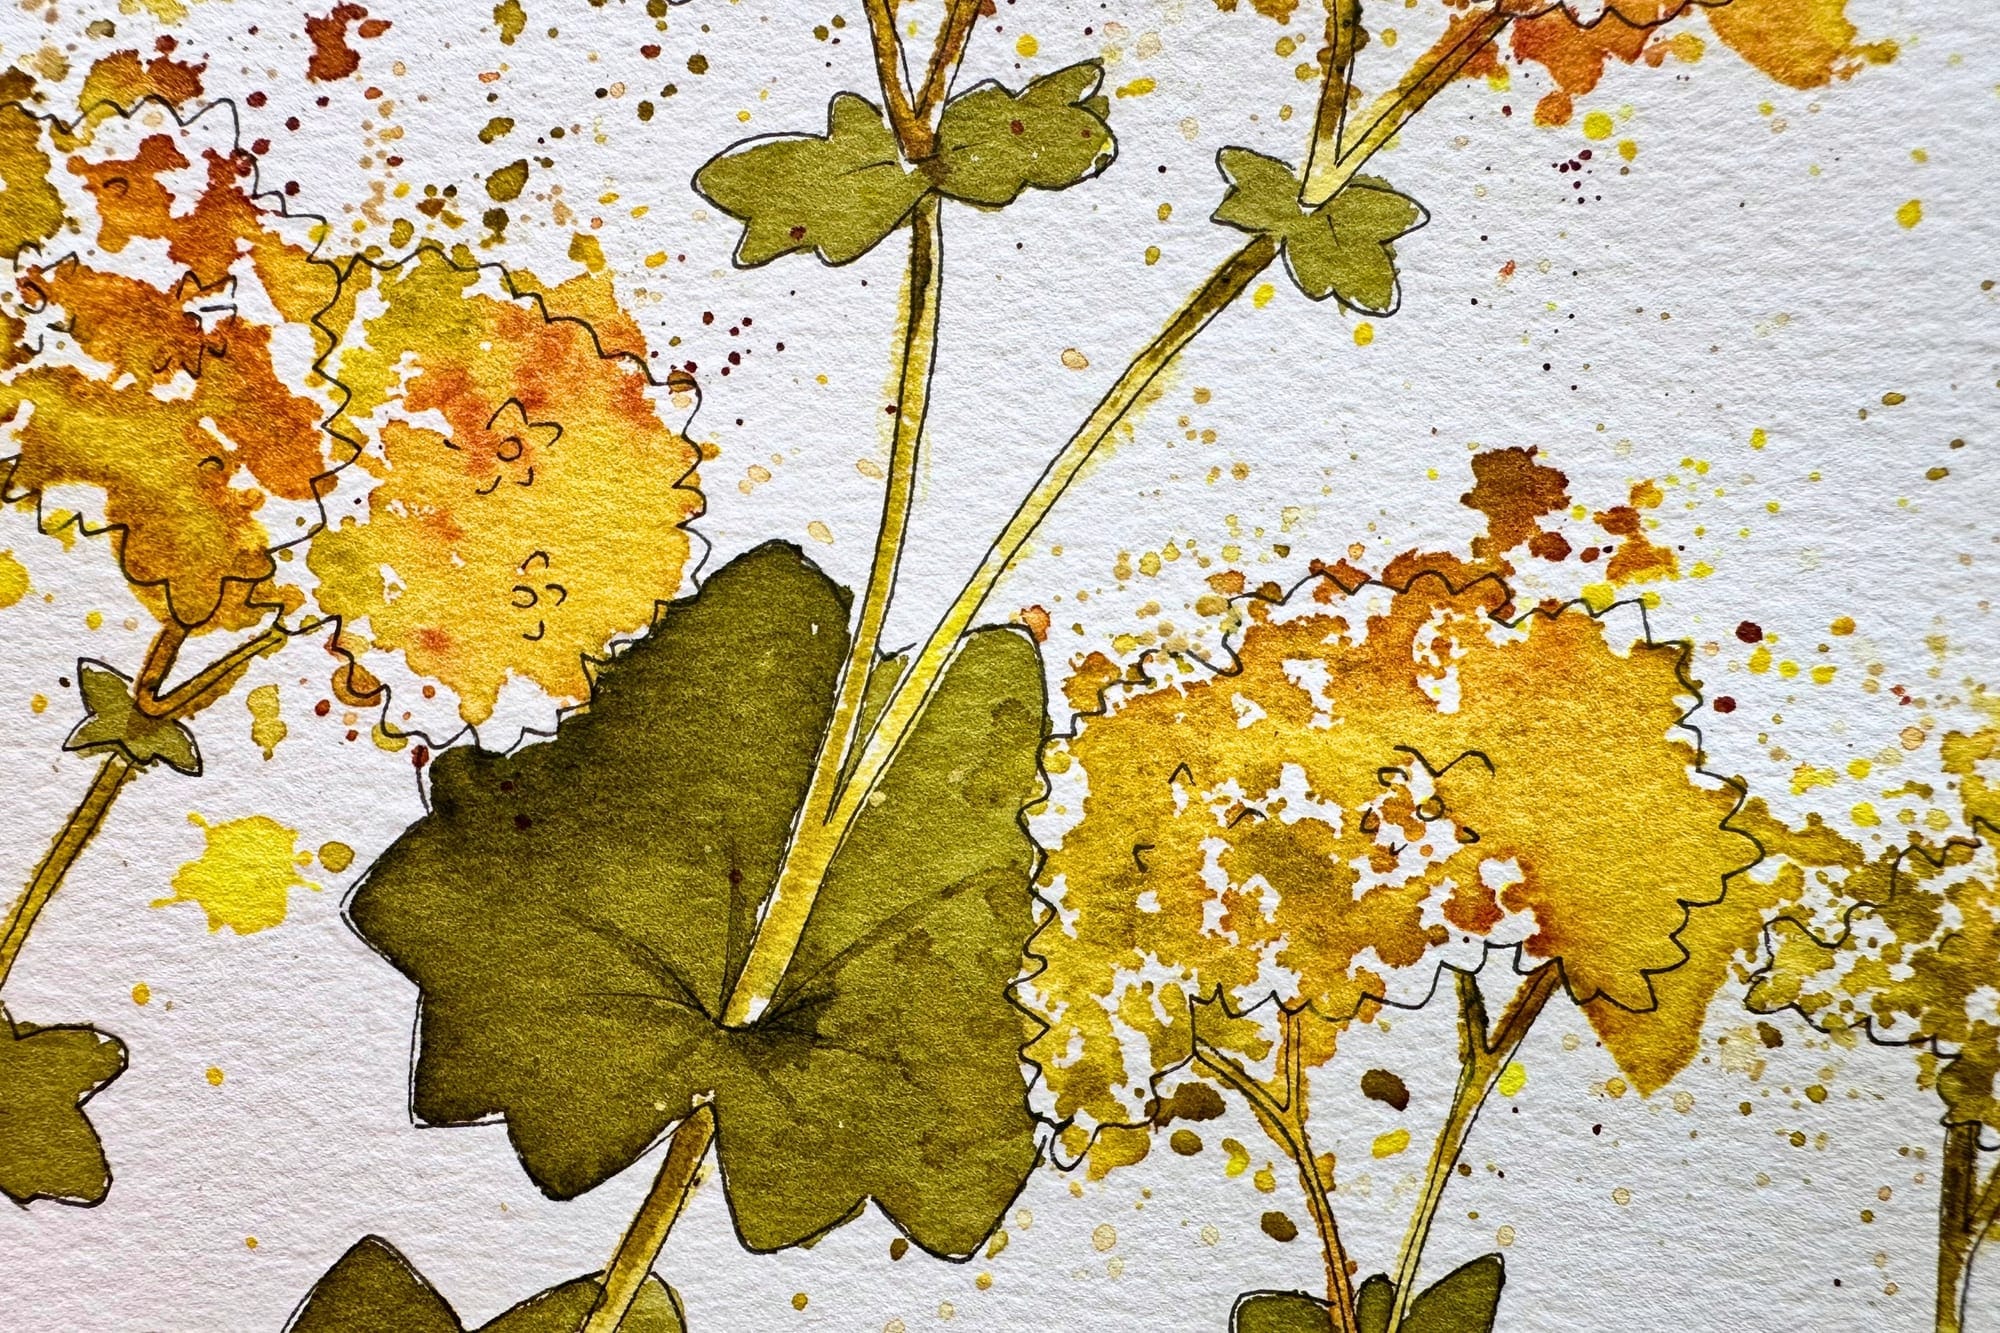
In many watercolor books, splatters are presented as a pure effect technique. For my botanical motifs, though, they are much more than that. I splatter paint on almost every picture – not randomly, but very deliberately. Sometimes I add the splatters right at the beginning. They inspire me while painting and set a direction in which colors and shapes may develop later. Often they spark ideas I would never have come up with without these little accidents.
Just as often, I splatter a second color into the still-wet background. The pigments immediately begin to react with one another and create lively gradients that would hardly arise with the brush alone.
Especially with loosely painted flowers, these fine splatters carry something that is hard to describe. To me they recall drifting pollen, light, movement, or even the scent of a plant. That is why they have become part of every one of my botanical watercolors. For me they are not decoration at the end of the process, but a fixed part of the composition.
The most important technique is water
When I think back to my first watercolors, for a long time I thought the biggest challenge was mixing colors. Today I see it differently. The real difficulty lies in the water.
Too little water leads to visible brush marks, hard transitions and blotchy washes. Too much water lets pigments run uncontrollably or creates blooms.
Over time, though, you develop a feel for when paper, brush and paint have exactly the right amount of moisture. This feel is hard to learn in theory. It comes through experience – and that is precisely why it is worth painting regularly.
My conclusion
The fundamental watercolor techniques are not rules you have to master as perfectly as possible. They are tools. Some motifs need many glazes, others live almost entirely on wet-in-wet gradients. Some blossoms look loveliest with clear contours, others unfold their effect precisely through soft transitions.
For me, technique does not mean painting as controlled as possible. Technique means knowing when control matters – and when to deliberately let water and pigments go their own way.
That, for me, is exactly where the magic of watercolor lies. Not everything can be planned. Some of the most beautiful gradients, splatters or textures appear precisely when you give the colors room to unfold freely on the paper. And it is exactly these little surprises that make every botanical watercolor one of a kind.